-
You are viewing the forum as a Guest, please login (you can use your Facebook, Twitter, Google or Microsoft account to login) or register using this link: Log in or Sign Up
One of the uses of Riccia within the aquarium
Articles written by UKaps members
One of the uses of Riccia within the aquarium
Hi Everyone, here's a guide on how to grow and attach riccia to slate or bogwood in the aquarium.
When you purchase your riccia (Dwarf Riccia or Riccia Fluitians) it will come in either a plastic tub, plastic zip lock bag or on a piece of mesh. Quite daunting at first as most people look at their little batch and think "what on earth do i do with it now"
For id purposes dwarf riccia is on the left, riccia fluitians is on the right.

To attach riccia to an object follow these steps, I was aiming for a large carpet, For a hilly effect use a few of these on a smaller scale and put together on the substrate.
1- Do a decent water change (around 30-50%) as per your usual regeime ensuring the riccia has the best possible start.
2- Remove the riccia from the tub/bag or mesh (no problem if you have to break it up in the process) and place it in a tub of aquarium water. Then break up all the clumps of matted riccia into seperate plantlets.
3- With a piece of airline tube make a loop and float it in your tank (at least 10 inches across) or use a plastic tub with a transparent lid (breeding traps have been used if a bit unsightly).
4- Place the seperated riccia pieces inside the "floating fence" or tub (filled with tank water) making sure it isn't matted together.
5- Leave for a week to grow without touching anything. it will get a bit messy with some bits escaping from the fence. just scoop them up and put back inside. if your using a tub this wont be a problem.
6- Fill a bucket with warm tap water and take out all the riccia in the tank placing it in the bucket. (noticing you now have twice as much riccia than a week ago!!).
7- Swish it all around to get out any debris and seperate the matted bits again.
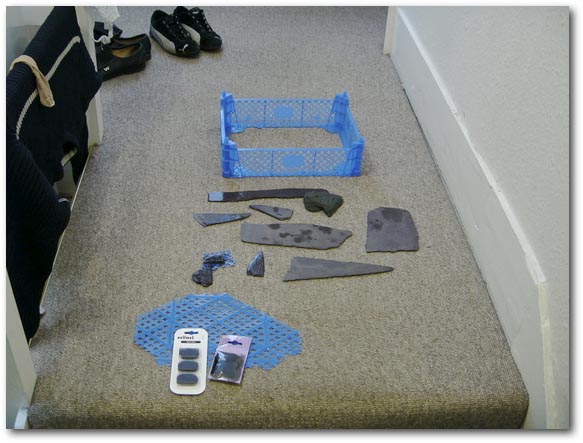
You now have a few options.
Riccia on slate, wood, or plastic mesh.
Depending on the choice above you can use a transparent nilon hairnet, cotton thread or fishing line to tie it on.
A hairnet is by far the best in my opinion and easiest to work with so long as it fits over the object. just make sure at the end of the process you do not leave any loose netting for fish to get caught up in.
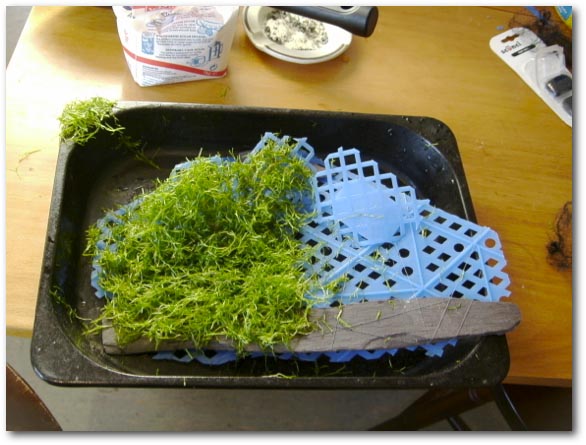
I have used a plastic mesh with a hairnet.
Now is a good time to place the mesh or slate in the tank to see how it will look, get the size right and visualise the finished piece.
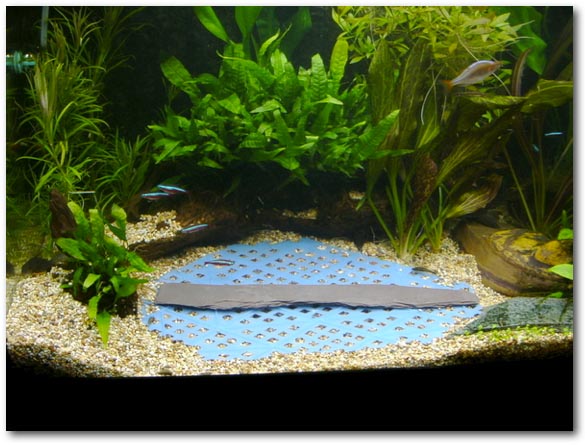
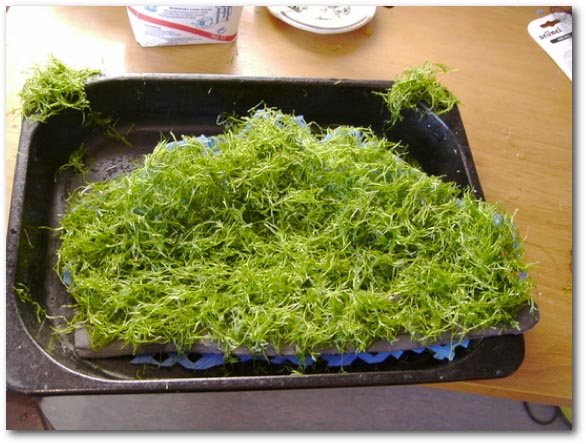
8- Lay your riccia on the object everywhere that will have direct light. ie not underneath or behind. This is where it can all go wrong, put to much on and the bottom layer will not get enough light and die in a few weeks time leading to the "carpet" breaking free of the net and making a hell of a mess. place enough riccia on the wood,slate or mesh so you have a thin layer, you should just be able to see the wood/slate beneath it.
As i have riccia coming out of my ears i have used as much as possible in mine, this is about the limit, any more and it will not go to plan.
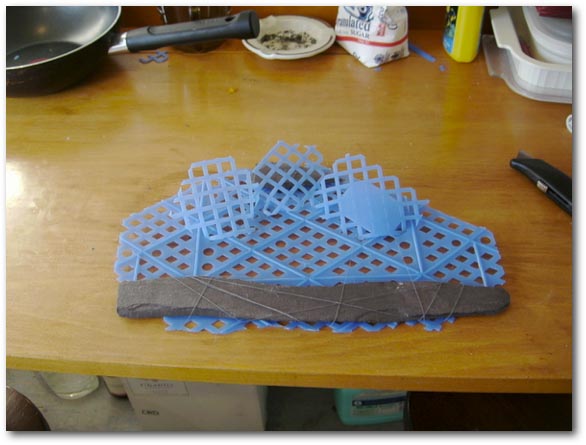
9- Place the hairnet over the top and wrap cotton thread around a few times and tie off making sure the netting is pulled tight against the mesh/slate. leave it loose and you will have a flat slate tile for example with a dome of riccia on top rather than a flat carpet (remember it floats). there have also been plenty of stories of plecs getting bound up in loose netting - not a pretty sight so take time over this part.
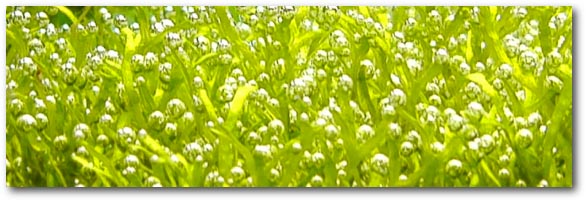
10- As long as there is light directly on the riccia you can place the object anywhere you like. The closer to the light, the more it will pearl. (ie usefull for a cave roof).
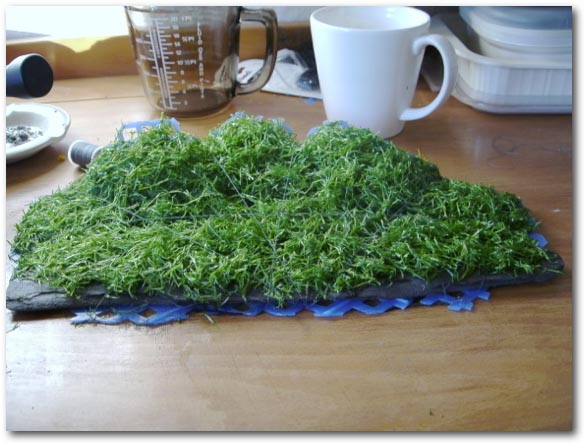
The blue bits from the mesh will be concealed when the riccia starts to grow.
I have used riccia fluitians for the mesh piece, and have used dwarf riccia for a few more slate covered pieces.
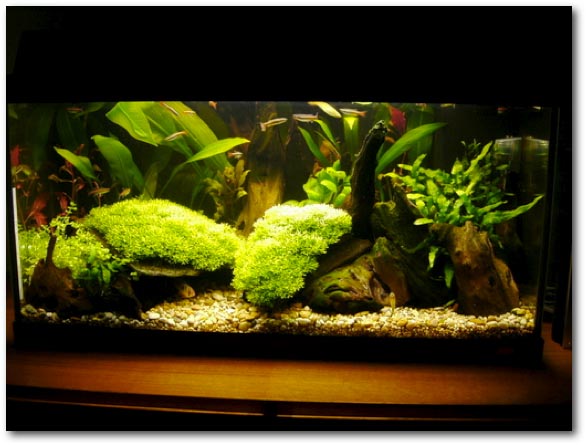
Finished effect (but needs to grow out a little).
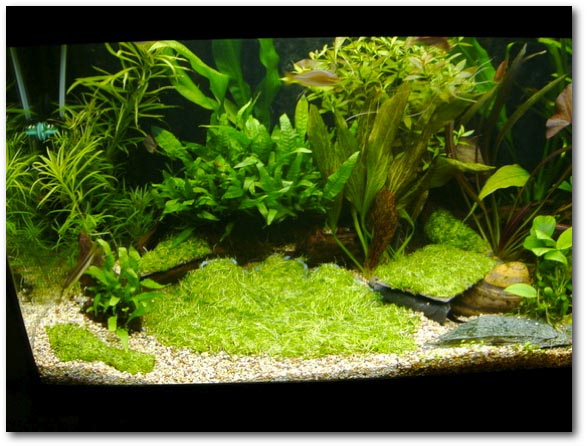
You will notice after a week or so the riccia will grow over the netting and start to break off and float to the surface, this should provide a continuous harvest of fresh riccia so long as you clear the surface riccia every couple of weeks.
After 1 week
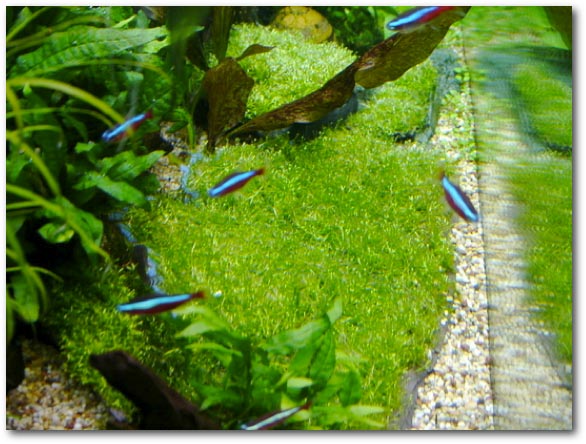
Side view
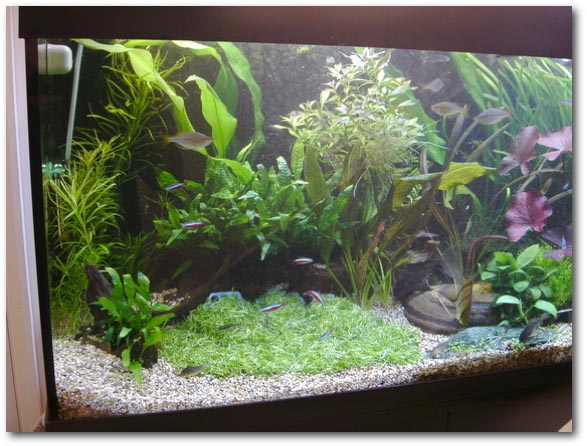
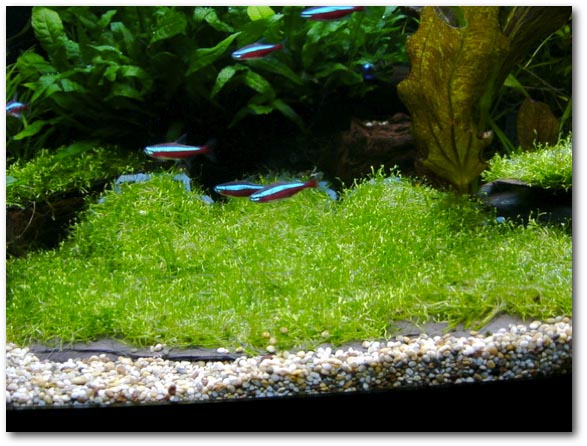
After 3 weeks
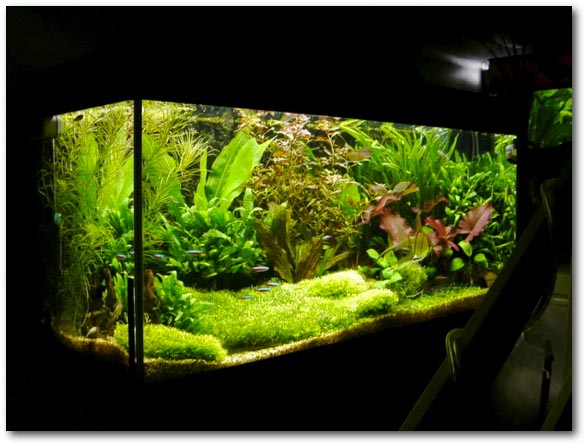
Full tank shot
If you do not remove this floating riccia often enough the blanket effect on the surface will cut off the light to the whole tank killing everything.
Keep co2 as close to 30ppm as possible, this is one plant that will survive without co2 but will never reach it's full potential (the pearl carpet effect) without it.
For the cotton thread/fishing line method just tie on one end and wrap it round every direction till the riccia is secure. the problem is when it grows the whole lot comes free and makes a hell of a mess. riccia does not have roots so will never attach itself to anything.
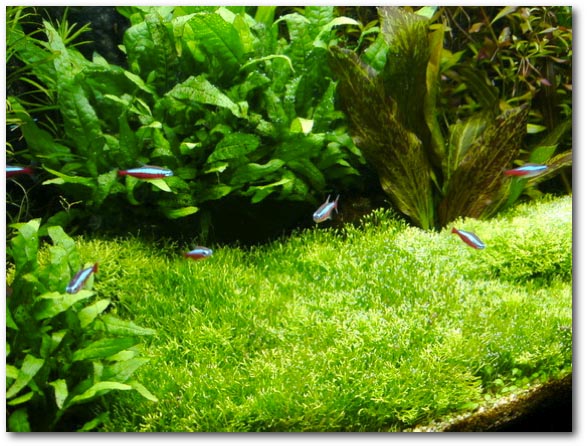
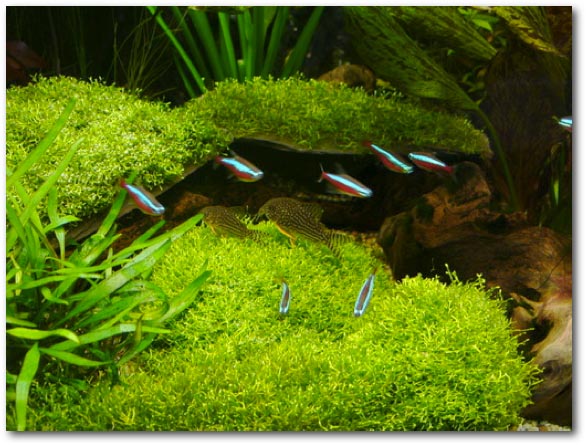
Here are a few more pictures of my riccia, all held down with hairnets.
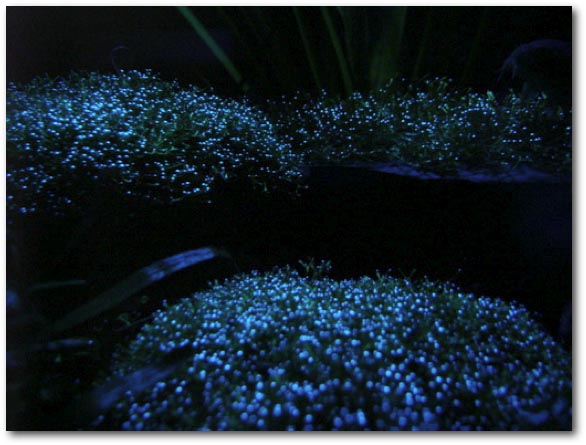
And under moonlight.
Please don’t be nervous of riccia, as you can see from the steps above the process is simple. With the correct lighting and co2 anyone can create a lovely bubbling carpet for their tank within 2 weeks.
Riccia is rarely found at your local aquatic retailer but becoming more and more common with those shops that supply Tropica plants.
This article was written by UKaps member - James Flexton