Yes I’d want to tight fitting to the glass, but I don’t want to build it straight into the glass directly, as I’ll no doubt want to scrap it and do something different with the tank in the future. Hence why I’ll use the foam and bond the lava rock etc onto the Perspex sheet, and then just lightly bond the perspex sheet onto the glass with silicone if I can, so it’s more easily removable in the future.The foamfix Oase do is black also.
I think @zozo is right about there being no difference aside from colour to the yellow construction type expanding foam.
There's loads of info from people making DIY backgrounds for vivariums different ways so guess it's down to you which one(s) you want to experiment with.
Are you wanting things to fit tight against the glass, if not how do you see it being laid out?
Interested to see how this develops to try a terrarium of some descriptor at some point.
-
You are viewing the forum as a Guest, please login (you can use your Facebook, Twitter, Google or Microsoft account to login) or register using this link: Log in or Sign Up
You are using an out of date browser. It may not display this or other websites correctly.
You should upgrade or use an alternative browser.
You should upgrade or use an alternative browser.
How to create a muddied river bank . . .
- Thread starter Wookii
- Start date

zozo
Member
Oh, I figured some stuff might have fungicides in etc? If there is even the slightest risk of that, I’d rather just use the stuff that’s says it’s safe for aquatics - I don’t particularly want yellow anyway just in case some of it becomes visible further down the line.
By the amounts, you likely will need, stick with the black landscape foam. Once expanded 1 bottle contains quite a bit. I guess it won't make a significant dent in your budget...
Andrew Butler
Member
So you're looking to create a piece that slides in snug to the aquarium with a bottom, back, sides and I guess the front in 2 pieces? - Just trying to picture things.Yes I’d want to tight fitting to the glass, but I don’t want to build it straight into the glass directly, as I’ll no doubt want to scrap it and do something different with the tank in the future. Hence why I’ll use the foam and bond the lava rock etc onto the Perspex sheet, and then just lightly bond the perspex sheet onto the glass with silicone if I can, so it’s more easily removable in the future.
Sounds quite brave!
I'm unsure quite how it would work but if the silicone joints were sealed off from the foam then you would be able to make it in situ and then when the time comes tear it out and carefully scrape it all from the glass with a clean blade.
You could possibly cover the parts where foam touches the glass in vinyl so you don't see it- printed vinyl even if you can either find something or get something printed.
So you're looking to create a piece that slides in snug to the aquarium with a bottom, back, sides and I guess the front in 2 pieces? - Just trying to picture things.
Sounds quite brave!
I'm unsure quite how it would work but if the silicone joints were sealed off from the foam then you would be able to make it in situ and then when the time comes tear it out and carefully scrape it all from the glass with a clean blade.
You could possibly cover the parts where foam touches the glass in vinyl so you don't see it- printed vinyl even if you can either find something or get something printed.
No, not quite Andrew - it's hard to describe in words. Say you have a EA Aquascaper 900, and you want to make a bank style background to the rear and left side. So, internally the rear pane is around 880 x 440 internally. So my plan would be cut a piece of clear (or maybe black) perspex to maybe 875 x 435, perhaps with a 100mm flange/bend on the base to help it stand and distribute the weight (this would be covered by substrate anyway).
I would then lay it flat on its back whist constructing the 'bank'. Rough sand it for a good key to the expanding foam, add a layer of the expanding foam a section at a time, and press the lava rock into it. Carve the excess and decorate as detailed above.
Then once dried, completed and washed, I'd stand the whole thing up on that 100mm flange, and on the rear add a very small very thin and continuous bead of silicone to around all four edges about 25mm in from the edges.
I'd possibly lay the aquarium on its back, and then lower the 'river bank' background into the tank so the silicone bead forms a seal with the rear glass panel of the tank. Once dried stand the tank back up. Repeat for the side panel - obviously the design of the 'bank', and the flange on the base would need to account for the join/transitions between the side and rear.
Only thing that might be cause for concern is the weight perhaps.
Hopefully the thin bead of silicone would prevent water ingress behind the pre-fab backgrounds, and mean to remove them is a matter of slitting that thin silicone bead, and then removing from the tank inner panes in the usual ways.
Does that make sense? This is all just theory of course at this stage. I will no doubt hit stumbling blocks if/when I attempt it for real, and have to figure out work arounds. In the meantime, I have ordered a few bits to attempt a mini mock up to test the theory.
ScareCrow
Member
This might give some ideas for creating a DIY background. Depending on the width of the tank, I'd be tempted to go with a false back. Then you could hide equipment behind your background and you wouldn't need to worry about water becoming stagnant. I have a false back on my current tank and really like it. I hide all of the equipment in one section, there's room for mechanical and biological filtration, I culture blackworms in another section and I have riparium plants growing out of the top.
Andrew Butler
Member
Almost! I think the pictures in the first post are what I had in mind but you're looking to just take up the back and left if I'm reading correctly and infact there wouldn't be any of the front pane obscured at all?Does that make sense?
All just open thought and opinion here.......
I think if you put silicone on the back of the perspex on all 4 edges that you might have a problem getting it off as you are unable to access the sides or bottom to cut them cleanly and maybe also have one side locking the back in.
Possibly by putting a bead along the top where you could get to trim it cleanly and then putting a bead along the bottom of the structure on the face to keep that in check would work and be hidden by any substrate, I can't see it having much weight to it really and silicone is some string old stuff.
If you are happy to then silicone up the edge of the side you see, it will protect the glass from any of the substrate you use in the process and should hold things firm.
Do you think you could make it so the side slid down into the back by creating a rebate? this way you would be able to make the back not as wide and allow you a bit of play.
How do you see it finishing at the front of the side panel?
This might give some ideas for creating a DIY background. Depending on the width of the tank, I'd be tempted to go with a false back. Then you could hide equipment behind your background and you wouldn't need to worry about water becoming stagnant. I have a false back on my current tank and really like it. I hide all of the equipment in one section, there's room for mechanical and biological filtration, I culture blackworms in another section and I have riparium plants growing out of the top.
Thanks @ScareCrow - that looks a similar technique to the expanding foam. I think I need to experiment a bit to see what works best. Do you have a journal for your tank?
ScareCrow
Member
I don't, it's something that I've been meaning to do, if only for my own record. I keep meaning to do a retrospective catchup but then forget to.Do you have a journal for your tank?
Almost! I think the pictures in the first post are what I had in mind but you're looking to just take up the back and left if I'm reading correctly and infact there wouldn't be any of the front pane obscured at all?
Ah, I see, yes, those images I posted on the first page are probably going to be a little to advanced for me to start with, and I'm not sure how I feel about adding stuff to the front glass. To start with, if I decide to attempt this (and its still an 'if'), I'll just do the rear and one side, perhaps with part of the other side also, I'm not sure.
All just open thought and opinion here.......
I think if you put silicone on the back of the perspex on all 4 edges that you might have a problem getting it off as you are unable to access the sides or bottom to cut them cleanly and maybe also have one side locking the back in.
Possibly by putting a bead along the top where you could get to trim it cleanly and then putting a bead along the bottom of the structure on the face to keep that in check would work and be hidden by any substrate, I can't see it having much weight to it really and silicone is some string old stuff.
If you are happy to then silicone up the edge of the side you see, it will protect the glass from any of the substrate you use in the process and should hold things firm.
Do you think you could make it so the side slid down into the back by creating a rebate? this way you would be able to make the back not as wide and allow you a bit of play.
Thing is the bead of silicone is really more for preventing stagnant water and crud collecting behind the perspex, but I agree with your point, it might make it difficult to remove.
How do you see it finishing at the front of the side panel?
With difficulty! lol
I'll need to figure out some sort of transition. I imagine the side panel perspex would need to finish a bit short of the front glass, to allow me to wrap around some of the lava rock. Either that or I finish that end completely flat and sanded with roots and crushed lava rock/particle pressed into it, like it is a true cross sectional cut of the bank.
Andrew Butler
Member
If you've sealed the insert as a whole and silicone the insert on all the seams and any joints at the face then it should prevent thisThing is the bead of silicone is really more for preventing stagnant water and crud collecting behind the perspex
I'd favour finishing the side short of the front and instead of it being straight allow the stones to stick in and out a little if that makes sense, I can't find a photo with a quick look but if it doesn't and you want me to look again some time then let me know and I'll have a look when I get the chance.I'll need to figure out some sort of transition. I imagine the side panel perspex would need to finish a bit short of the front glass, to allow me to wrap around some of the lava rock
You could also repeat this a small amount on the other side if that's your thinking.
I think it will result in the end life of an aquarium to make it look anything like, I could be wrong though.Ah, I see, yes, those images I posted on the first page are probably going to be a little to advanced for me to start with, and I'm not sure how I feel about adding stuff to the front glass
If you've sealed the insert as a whole and silicone the insert on all the seams and any joints at the face then it should prevent this
What about the gap between the perspex and the glass though?
I'd favour finishing the side short of the front and instead of it being straight allow the stones to stick in and out a little if that makes sense, I can't find a photo with a quick look but if it doesn't and you want me to look again some time then let me know and I'll have a look when I get the chance.
You could also repeat this a small amount on the other side if that's your thinking.
Yep - we're bang on the same page there I think.
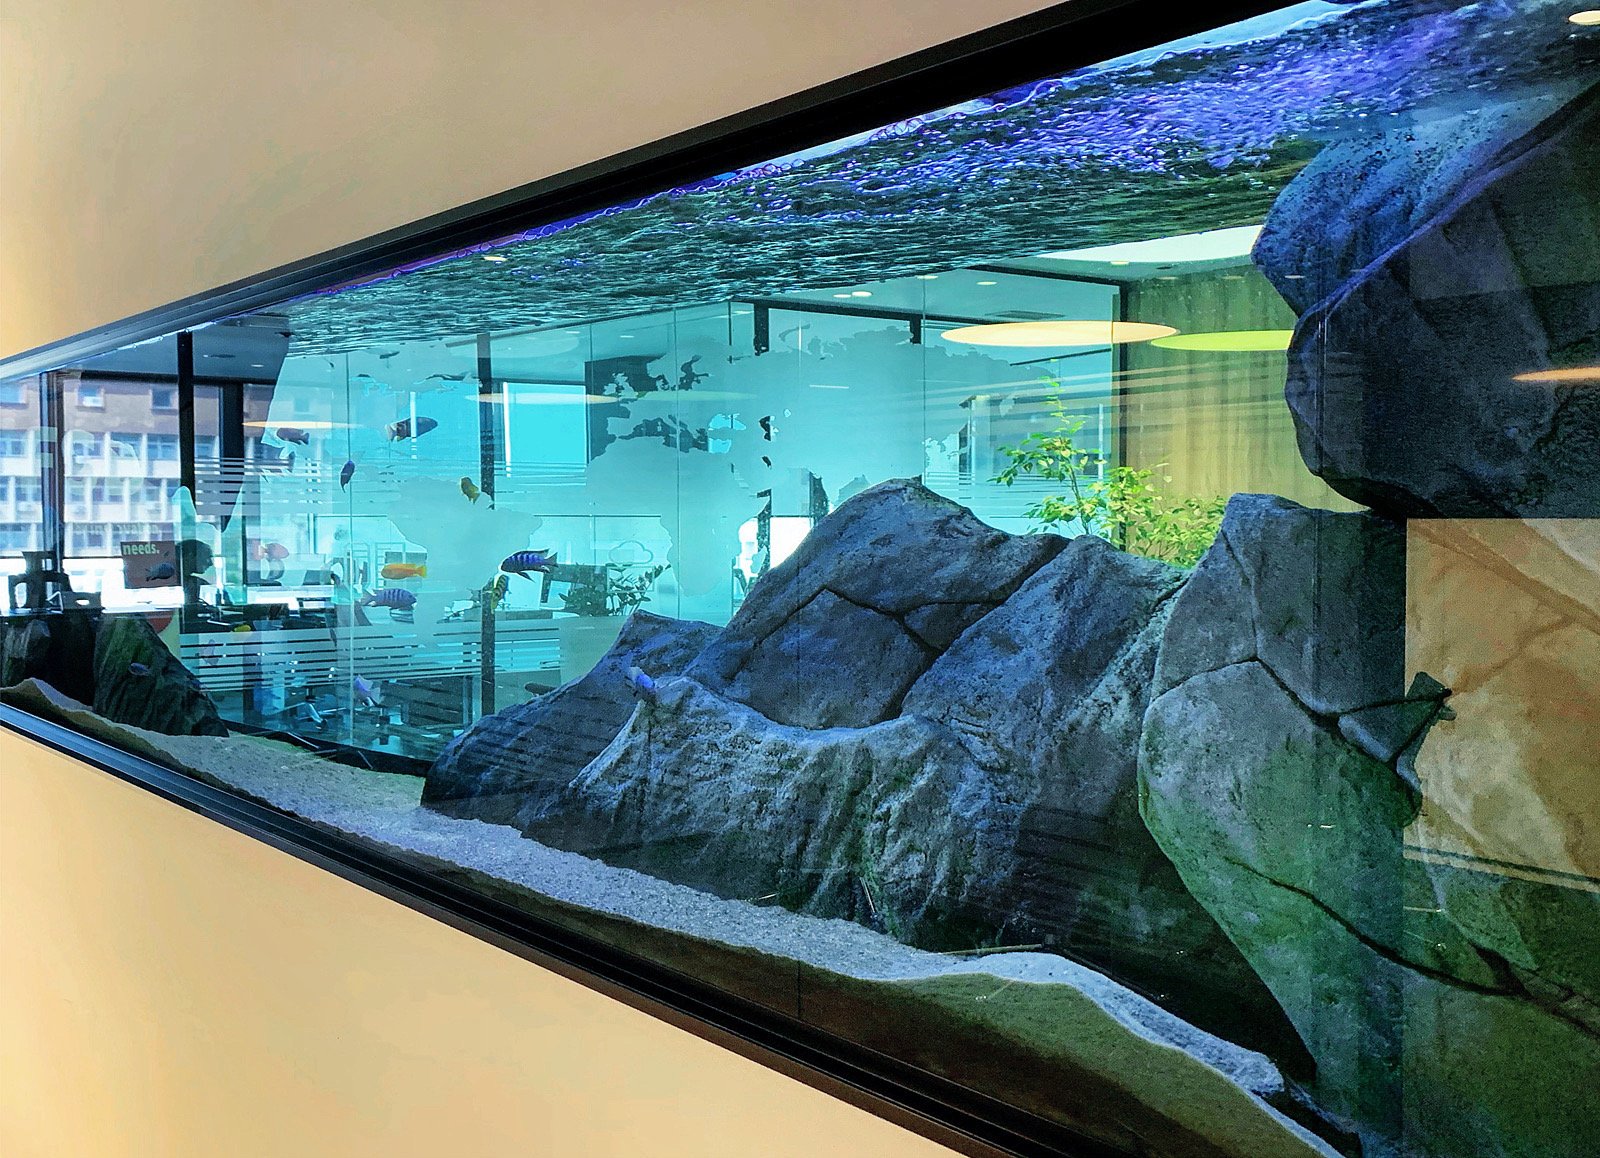
Not necessarily what I'm looking for here with this muddied river bank idea, but I stumbled across this US firm making what appear to be incredibly realistic backgrounds.
mort
Member
- Joined
- 15 Nov 2015
- Messages
- 2,424
I think aqua decor are actually a serbian company, they just export their creations. I think they have a few distributors but they tend to be pricey.
I'm not sure stagnant water is that much of an issue tbh. If you look at juwel backgrounds they tend to be just spot siliconed on so allow some water behind. I think in the average tank this volume is pretty negligible compared to the volume and I think with your average filtration you will still see minimal water movement unless the entrances are blocked. So if it were me I would just consider silicon spotting the background on unless it was really heavy.
I'm not sure stagnant water is that much of an issue tbh. If you look at juwel backgrounds they tend to be just spot siliconed on so allow some water behind. I think in the average tank this volume is pretty negligible compared to the volume and I think with your average filtration you will still see minimal water movement unless the entrances are blocked. So if it were me I would just consider silicon spotting the background on unless it was really heavy.
Andrew Butler
Member
If you've sealed all the edges at the fronts/faces of the decor which in itself is sealed then it's irrelevant as I see it - it would rely on the pieces you put in being 100% waterproof though.What about the gap between the perspex and the glass though?
Does this make sense?
There's quite a bit of info around on building this type of thing for vivariums/terrariums so depending on how artistic you are they're probably a good place to look but just take more care in what and how you seal it.Not necessarily what I'm looking for here with this muddied river bank idea, but I stumbled across this US firm making what appear to be incredibly realistic backgrounds
I don't think they are meant for being removed which would account for the silicone.
not called Bob
Member
Think I'd be more concerned about the buoyancy of the item should it come loose.No, not quite Andrew - it's hard to describe in words. Say you have a EA Aquascaper 900, and you want to make a bank style background to the rear and left side. So, internally the rear pane is around 880 x 440 internally. So my plan would be cut a piece of clear (or maybe black) perspex to maybe 875 x 435, perhaps with a 100mm flange/bend on the base to help it stand and distribute the weight (this would be covered by substrate anyway).
I would then lay it flat on its back whist constructing the 'bank'. Rough sand it for a good key to the expanding foam, add a layer of the expanding foam a section at a time, and press the lava rock into it. Carve the excess and decorate as detailed above.
Then once dried, completed and washed, I'd stand the whole thing up on that 100mm flange, and on the rear add a very small very thin and continuous bead of silicone to around all four edges about 25mm in from the edges.
I'd possibly lay the aquarium on its back, and then lower the 'river bank' background into the tank so the silicone bead forms a seal with the rear glass panel of the tank. Once dried stand the tank back up. Repeat for the side panel - obviously the design of the 'bank', and the flange on the base would need to account for the join/transitions between the side and rear.
Only thing that might be cause for concern is the weight perhaps.
Hopefully the thin bead of silicone would prevent water ingress behind the pre-fab backgrounds, and mean to remove them is a matter of slitting that thin silicone bead, and then removing from the tank inner panes in the usual ways.
Does that make sense? This is all just theory of course at this stage. I will no doubt hit stumbling blocks if/when I attempt it for real, and have to figure out work arounds. In the meantime, I have ordered a few bits to attempt a mini mock up to test the theory.
It's a interesting idea and the commercial ones all seem to use a formed expanded foam, not sure it's polystyrene as from a frog tank seems more robust to most things that dissolve polystyrene.
I don't have the model making skills for such an endeavour, but when done well they do look good, especially when incorporated into the rest of the tanks scape and not just left like the photo images of old as a distinct backdrop.
Think I'd be more concerned about the buoyancy of the item should it come loose.
It's a interesting idea and the commercial ones all seem to use a formed expanded foam, not sure it's polystyrene as from a frog tank seems more robust to most things that dissolve polystyrene.
I don't have the model making skills for such an endeavour, but when done well they do look good, especially when incorporated into the rest of the tanks scape and not just left like the photo images of old as a distinct backdrop.
My version if I do it would consist mainly of lava rock, so I don't think it will be bouyant - I don't have the model making skill either to be honest, which is another reason why I'd hope using mainly lava rock with roots attached will get a fairly natural look.
The proof will be in the testing, I'll do a small piece, put it in one in of my tanks, and see how it looks. If it looks crap, then it'll be back to the drawing board.
ForestDave
Member
Could you put a photo up please? I'd love to see that set up.This might give some ideas for creating a DIY background. Depending on the width of the tank, I'd be tempted to go with a false back. Then you could hide equipment behind your background and you wouldn't need to worry about water becoming stagnant. I have a false back on my current tank and really like it. I hide all of the equipment in one section, there's room for mechanical and biological filtration, I culture blackworms in another section and I have riparium plants growing out of the top.
ForestDave
Member
Can't wait to see this Wooki.
My creation years ago was awkardly carved/built in the tank and looked more like a rejected set from Star Wars. I'd love to have another go one day and do it properly.
My creation years ago was awkardly carved/built in the tank and looked more like a rejected set from Star Wars. I'd love to have another go one day and do it properly.
Can't wait to see this Wooki.
My creation years ago was awkardly carved/built in the tank and looked more like a rejected set from Star Wars. I'd love to have another go one day and do it properly.
😂 Don't hold your breath Dave, mine could well end up looking similar.
I've got the expanding foam in hand now, and I'm waiting on 25Kg of lava rock, so I should be able to have a preliminary test in the next couple of weeks.
ScareCrow
Member
I keep meaning to start a journal if only to document things for my own record. I'll try get one setup soon.Could you put a photo up please? I'd love to see that set up.
I'm also looking forward to seeing how this turns out.